
From Protect Wajahat · Account Recovery · 6 min read
A suspended Instagram account is stressful, but a rushed appeal rarely helps. Here is the evidence, dates and proof of ownership to prepare before you submit — and what never to send.
You open Instagram and, instead of your feed, you see a message: your account has been disabled. If that account holds your customers, your content or your income, the pressure to act immediately is real. But with a suspended Instagram account, a rushed appeal is rarely a good appeal.
An Instagram appeal is decided on the information you submit. Reviewers need to be able to confirm who you are, what happened, and why the decision should be reconsidered. Preparing that material before you submit gives your Instagram account recovery the strongest possible start.
One point should be clear from the beginning: Instagram makes the final decision on every appeal. Protect Wajahat is an independent service based in Dallas, Texas, helping clients in the US and worldwide prepare appeals through official platform channels only. Nobody can guarantee that an account will be restored — and you should be cautious of anyone who promises otherwise.
One safety rule, before anything else: never send your password, one-time codes or recovery codes to anyone — not to a helper, not to a “support” account that messages you, not to us. An Instagram appeal never requires them.
1. First, read the notice carefully
The notice is your starting point, so read every word before you tap anything. It tells you which rule Instagram believes the account broke, whether the decision can be appealed, and any deadline for responding. Screenshot the full notice, including your username, before you close the app — you may not be able to see it again in the same form.
Notice, too, exactly what state the account is in. An Instagram account disabled after a policy decision, a hacked account locked by a security check, and an account paused for an identity confirmation are three different problems with three different routes. Preparing for the wrong one wastes the appeal window you have.
2. Gather proof you own the account
Before Instagram restores anything, it needs confidence that you are the account’s rightful owner. Prepare the following:
- Account details: your username, the email address and phone number linked to the account, and any previous usernames.
- Creation details: roughly when the account was created, and the devices you normally use to log in.
- Original content: unedited original photos and videos from the account. Original files carry dates and device information that reposted copies do not.
- Business evidence: for a business account, registration documents, invoices or ad receipts that connect you to the account or the brand it represents.
- Identification: if Instagram asks for ID, submit it only through Instagram’s own official form or app flow — never by email to a third party.
3. Collect dates, screenshots and notices
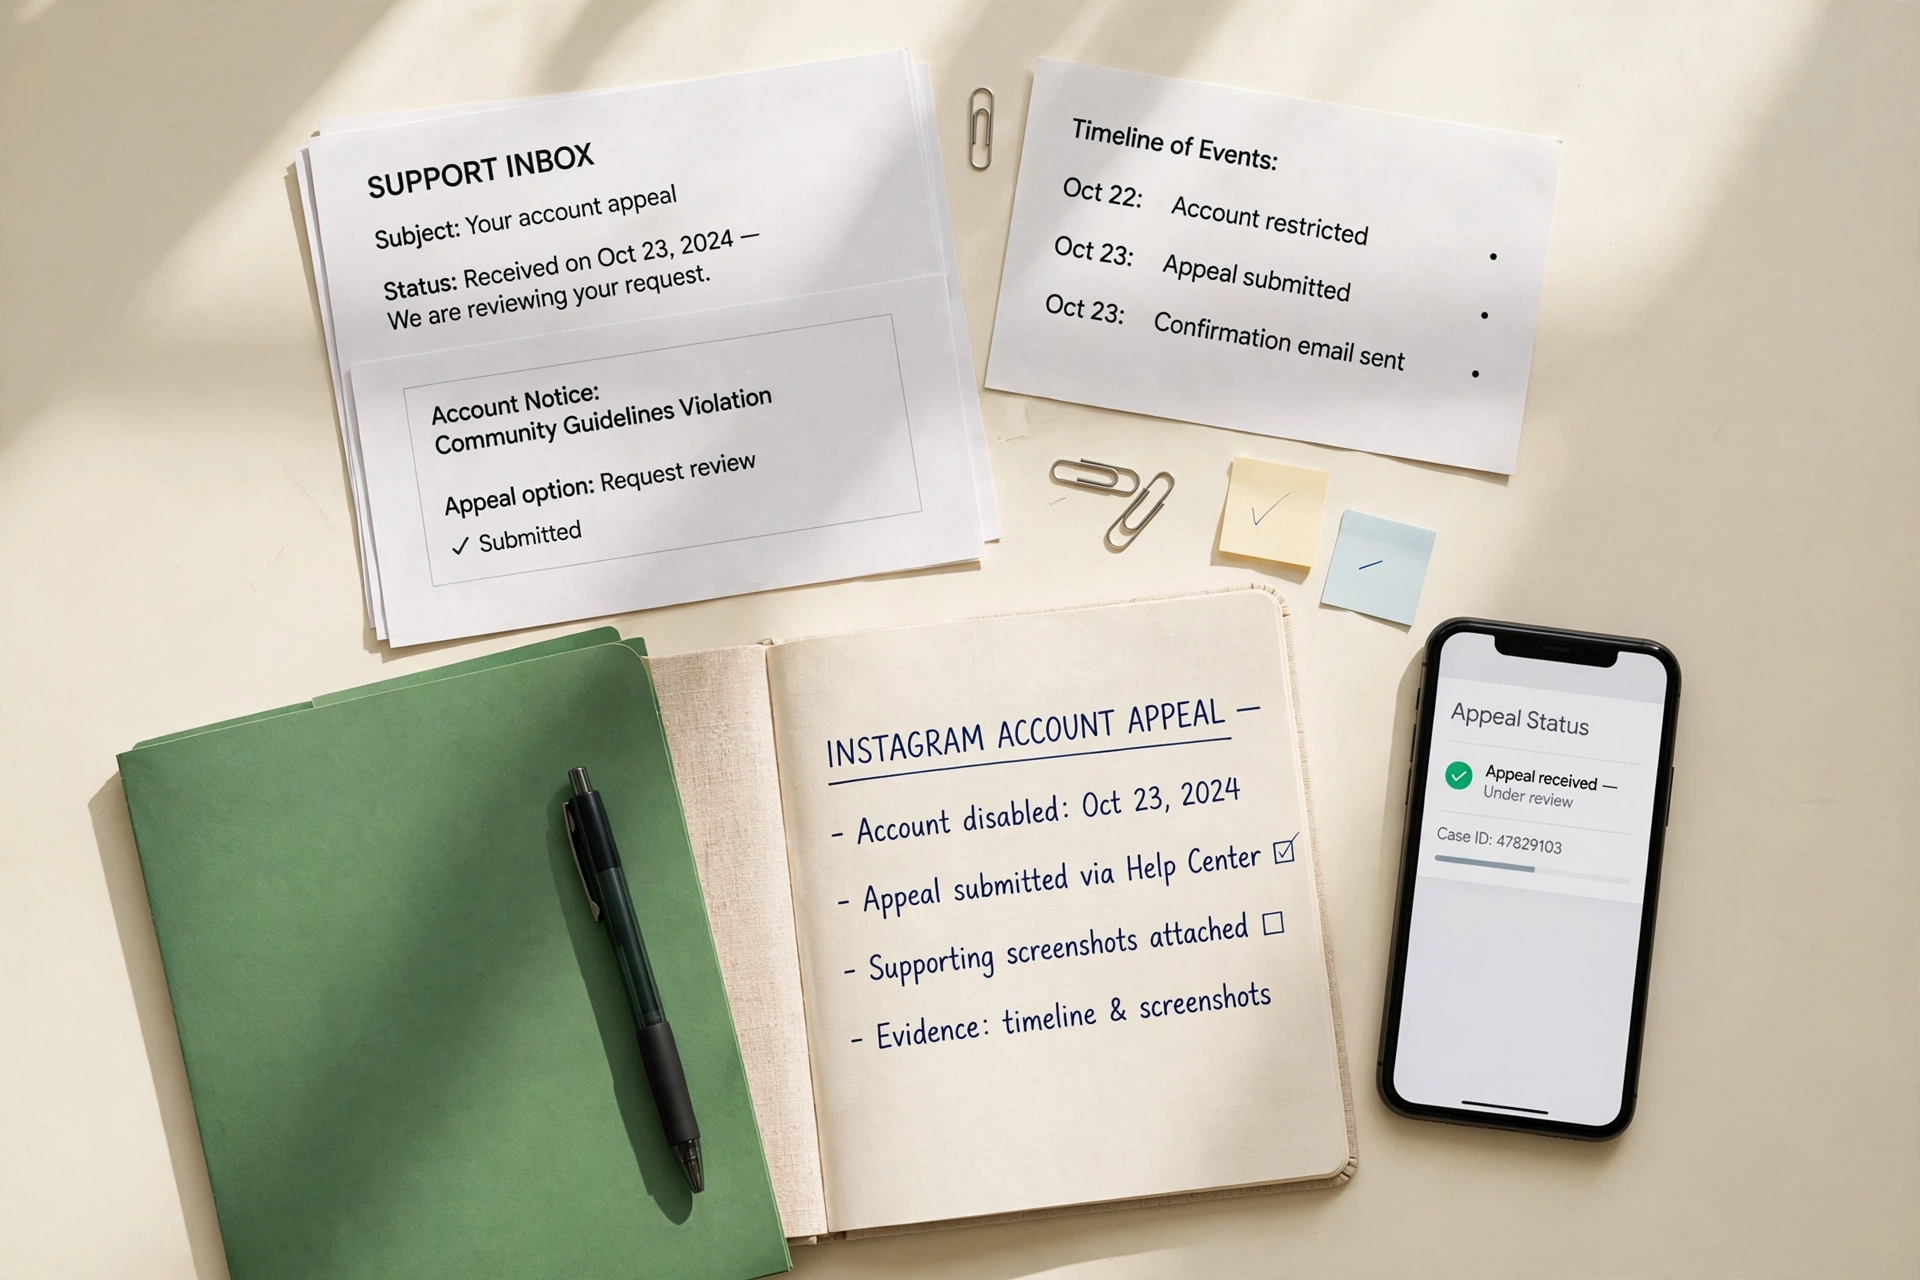
Reviewers work from records, and a clear timeline makes your account of events easy to verify. Build one before you write anything:
- The approximate date the account was created.
- The date the problem started, and what you were doing on the account shortly before it happened.
- Every notice you received — in-app messages and emails from Instagram — saved as full screenshots that show your username and the date.
- Any appeals you have already sent, with their dates and any reference numbers, and the responses you received.
Keep the originals untouched. Cropped or edited screenshots are harder to trust than clean ones; if you want to highlight something, make a separate copy for that and keep the original exactly as received.
4. Write a short, honest account of what happened
Your appeal statement does not need to be long — it needs to be clear, accurate and in your own words. Four short parts are enough:
- Who you are and what the account is used for.
- What happened, in date order, matching the timeline you collected.
- What you believe went wrong — for example, activity that was yours but misread, a security problem you have since fixed, or a genuine mistake you are acknowledging.
- What you are asking for: a review of the decision and restoration of the account.
Avoid copied template text. Identical wording appears in thousands of appeals and says nothing about your account. And be honest: if part of the problem was a mistake on your side, saying so plainly is more credible than a statement the evidence contradicts.
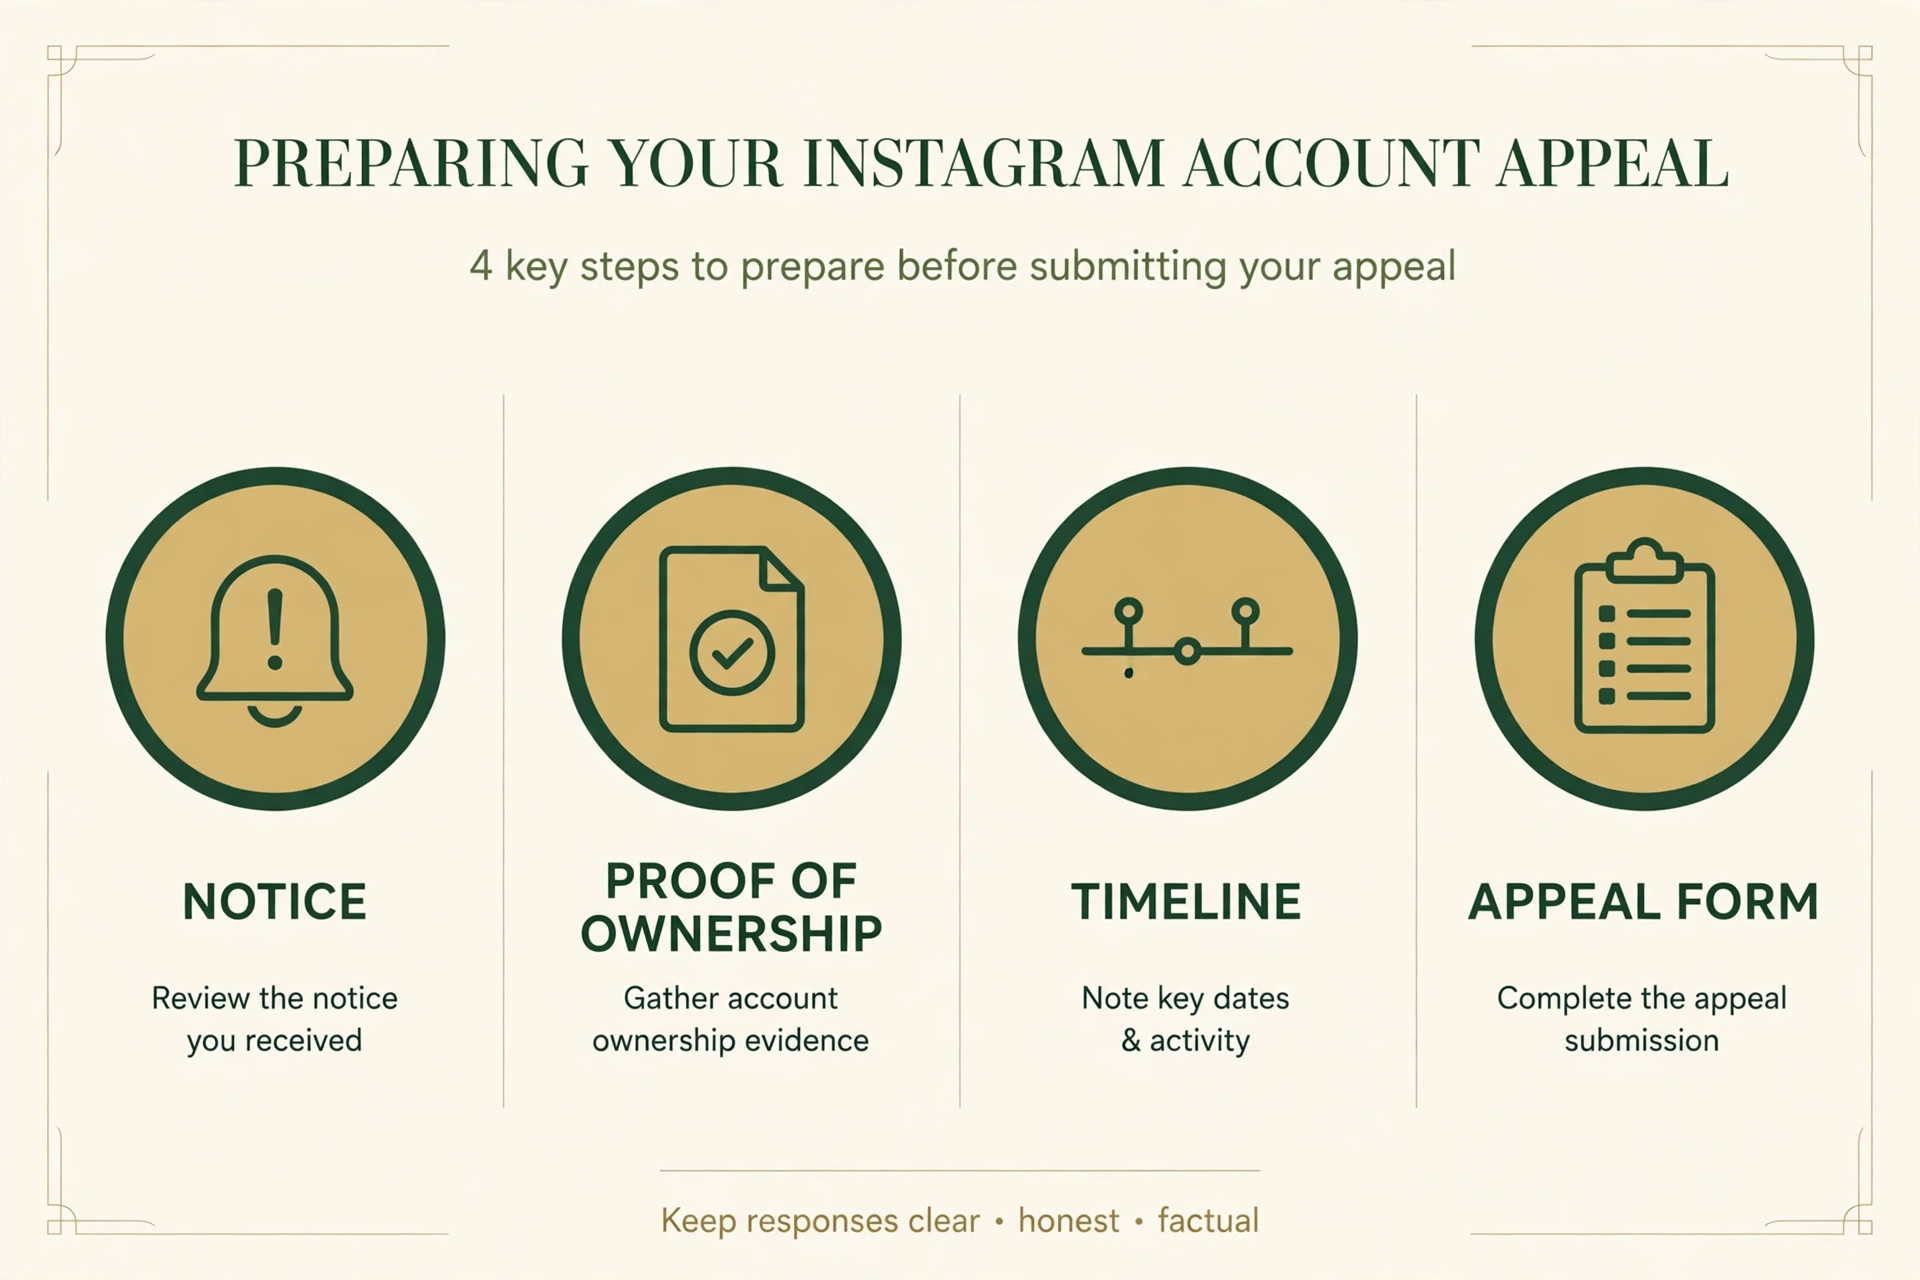
5. A preparation checklist
When every item below is ready, you are prepared to submit:
- A full screenshot of the disable notice, showing your username.
- The exact wording of the notice, and any deadline it sets.
- The email address and phone number linked to the account, and any previous usernames.
- Proof the account is yours: original content files, business documents, or ID ready if Instagram requests it through its official form.
- A dated timeline covering account creation, the problem, every notice and every appeal already sent.
- Copies of all emails and in-app notices from Instagram about the account.
- Your written account of what happened, in your own words, matching the timeline.
- A note of anything you have already tried, so nothing is submitted twice by accident.
6. Common mistakes to avoid
- Sending repeated appeals straight away. Submitting the same appeal again and again rarely speeds anything up, and it can leave you unsure which submission is actually being reviewed. Prepare once, submit once, then track the response.
- Creating a new account to get around the disable. Opening replacement accounts to evade a decision can make the original problem harder to resolve.
- Paying anyone who asks for your password or login codes. This is the most common route to a stolen account. No legitimate appeal needs them — never send passwords, one-time codes or recovery codes.
- Editing evidence. Altered screenshots or documents undermine the whole submission if they are spotted — and they are spotted.
- Leaving out inconvenient facts. A statement that contradicts Instagram’s own records damages credibility. Complete and honest beats polished and partial.
- Guessing at the reason. If you do not know why the account was disabled, say what you do know rather than inventing an explanation.
7. When to ask for a Free Case Review
Sometimes preparation is not the hard part — knowing which route applies, or what to do after an appeal has already been refused, is. That is where a case review helps.
A Free Case Review means your situation is looked at honestly before any work is agreed: what the notice actually says, whether the evidence supports an appeal, and what the realistic options are. If Protect Wajahat cannot help, you will be told directly. The review is free; any paid work is only ever agreed in writing afterwards, and the final decision on your account always rests with Instagram.
If your account matters to your business or your audience, do not guess your way through the appeal. Request a Free Case Review and describe what happened, including that it is a Disabled Instagram Account Recovery case.
Get a Free Case Review
Tell us what happened with your account. Your situation will be reviewed honestly — if Protect Wajahat cannot help, you will be told directly. The final decision on any appeal always rests with Instagram.
Leave a Reply